How to Use an Embosser/Cookie Stamp for fondant cookies and cupcakes.
Are you looking for a way to add some fun and creativity to your baking projects? If so, then a
fondant embosser might be just what you need. These handy tools allow you to add detailed
designs and patterns to your cookies, creating an impressive and professional-looking finish. In
this blog, we will explore how to use a fondant cookie embosser, step by step.
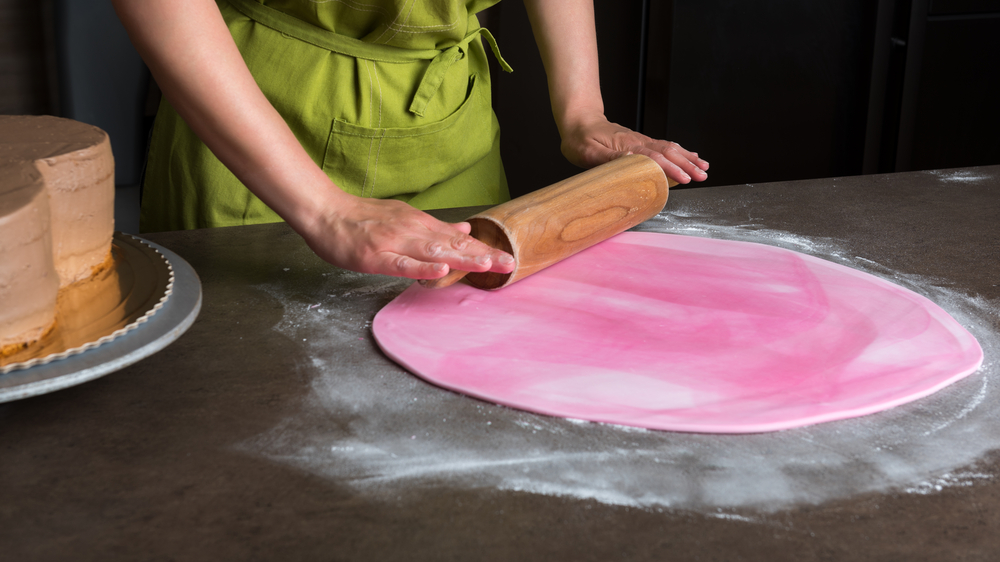
Step 1: Prepare your fondant
Before you can start using your embosser, you need to prepare the fondant. Most major
supermarkets sell pre-made fondant however you can make your own using your own recipe.
Take out your fondant from your packet and dust with cornflour, this will help it not be sticky. You will have to knead the fondant for a few minutes to make it soft and pliable for use. Be liberal with the cornflour to ensure it is easy to work with.
Once you have your fondant ready, you will need to roll it out to the intended thickness. Bare in
mind that if the fondant is too thick, the embosser stamp may not leave a clear impression, but if
it’s too thin, the fondant may rip or stick to the embosser.
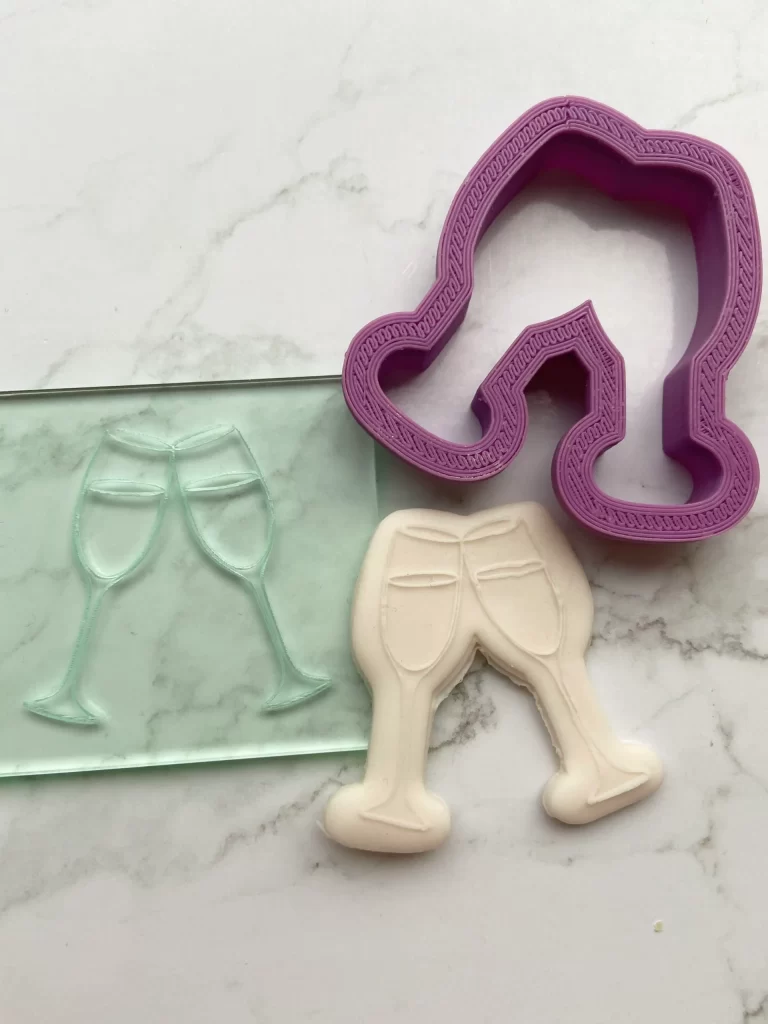
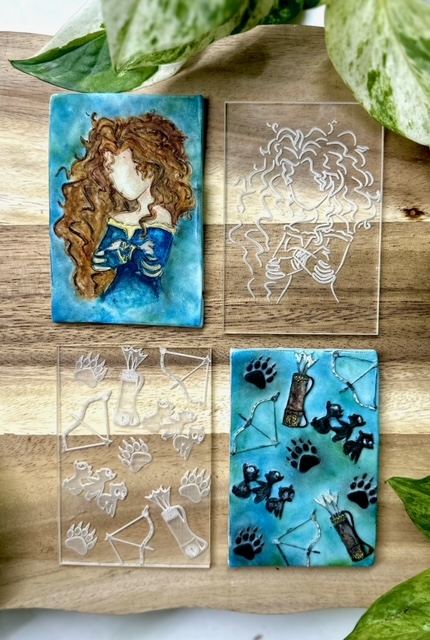
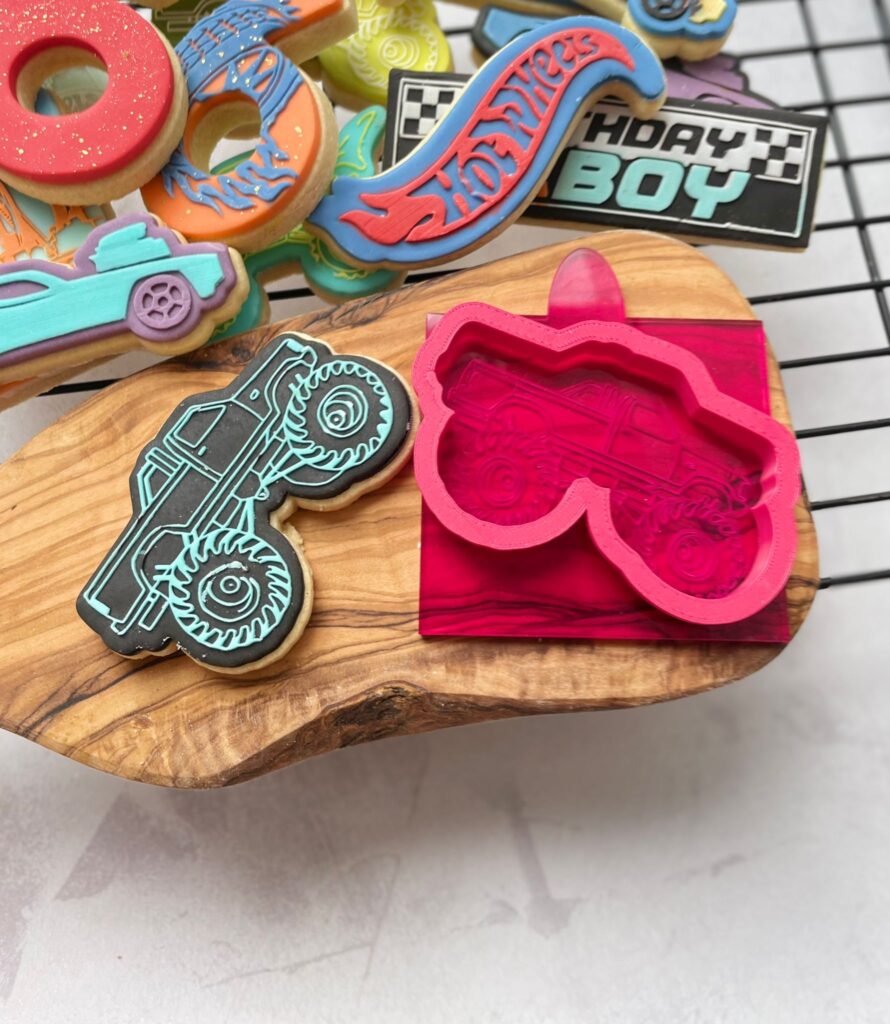
Step 2: Choose your embosser
There are many different types of embossers available, each with its own unique design.
Choose the embosser that best suits your project, and make sure it is clean and free of any
excess fondant from previous use.
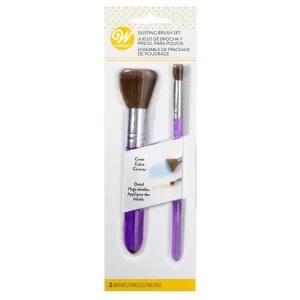
Step 3: Dust your embosser with cornflour or icing sugar
To prevent the fondant from sticking to the embosser, it’s a good idea to first dust it with a small
amount of cornflour or icing sugar. Simply brush either on to the embosser, remove any excess,
and you’re ready to go! We highly recommend Wilton Brushes for working with fondant.
Step 4: Press the embosser onto the fondant
Now it’s time to use the embosser. There are 2 ways to use it
1 Gently press the embosser onto the fondant, making sure to apply even pressure across the
entire surface of the embosser. Be careful not to press too hard, as this can cause the fondant
to tear or stick to the embosser.
or
2 Place the embosser face up. Lay the fondant over the top and using a rolling pin gently roll
over the embosser and fondant

Step 5: Remove the embosser
Once you have applied enough pressure, carefully lift the embosser off the fondant. If the
impression is not as clear as you would like, you can try pressing the embosser again or
adjusting the thickness of the fondant.
Step 6: Cut your fondant shapes
Now that you have your embossed fondant, it’s time to cut out your shapes. You can use a knife
to cut your shapes but it is much easier to use a cookie cutter. Make sure to work quickly, as
fondant can dry out quickly.
Step 7: Applying fondant to your cookies
Finally, it’s time to apply the fondant to your cookies. Use a small amount of water or edible glue
to stick the fondant to the cookie, and smooth out any wrinkles or air bubbles with your fingers
or a fondant smoother. Allow the fondant to dry completely before serving.
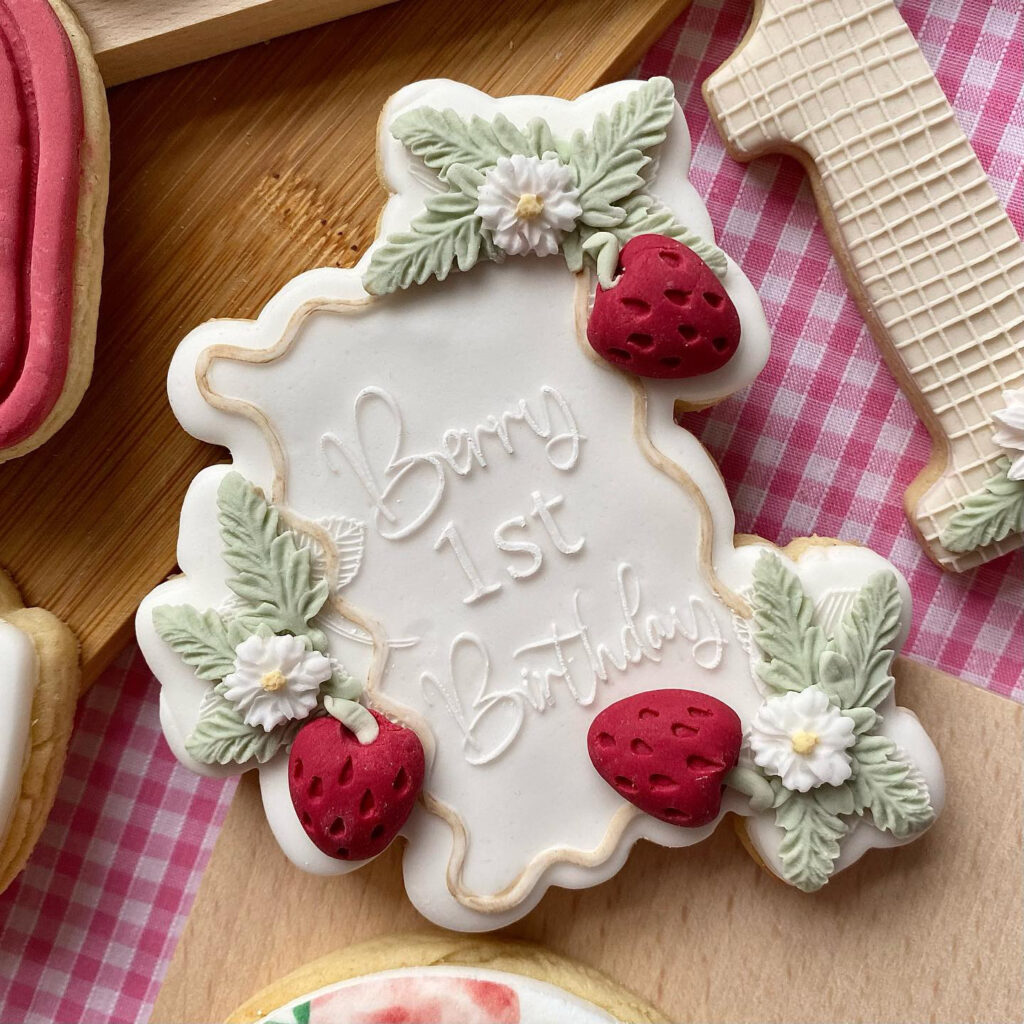
Did you know fondant toppers can be used on so many different bakes? Such as cupcakes,
cakecicles, chocolate covered oreo’s and even cakes – the list is endless!
Here at Em’s Bakehouse, we have a huge range and variety of different embossers and cookie cutters. If you can’t find what you need get in contact with us and we can make you exactly what you need with our custom embossers and cookie cutters.
To sum up, using a fondant embosser is a fun and easy way to add a modern and detailed touch to your
baking projects. With a few simple steps, you can create beautiful and professional-looking
cookies that are sure to impress. So why not give it a try and see what designs you can come
up with? Happy baking!